Leave Your Message


Teaching on the professional method of wrapping wrist guards
When engaging in various sports or physical activities, the wrist, as a frequently moving and weight-bearing joint, is prone to injuries such as strains and sprains. Proper use of wrist guards for protection can effectively reduce the risk of wrist injury. Mastering the professional method of wrapping wrist guards is the key to maximizing their protective effect. Now, we will provide a detailed introduction on how to correctly wrap wrist guards. Whether you are a sports enthusiast or someone who needs to perform wrist movements for a long time, you can easily learn it.
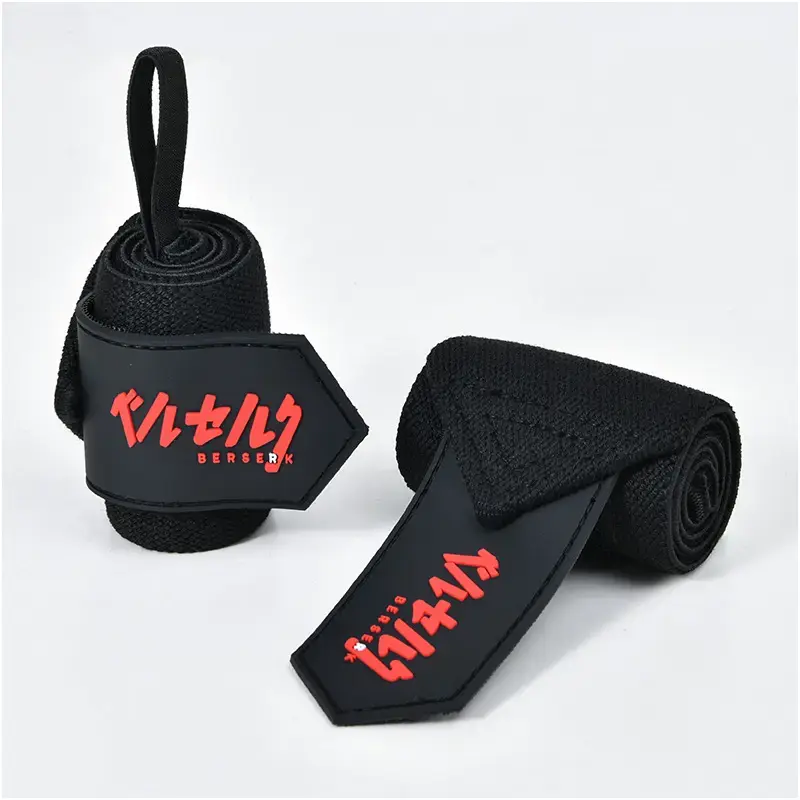
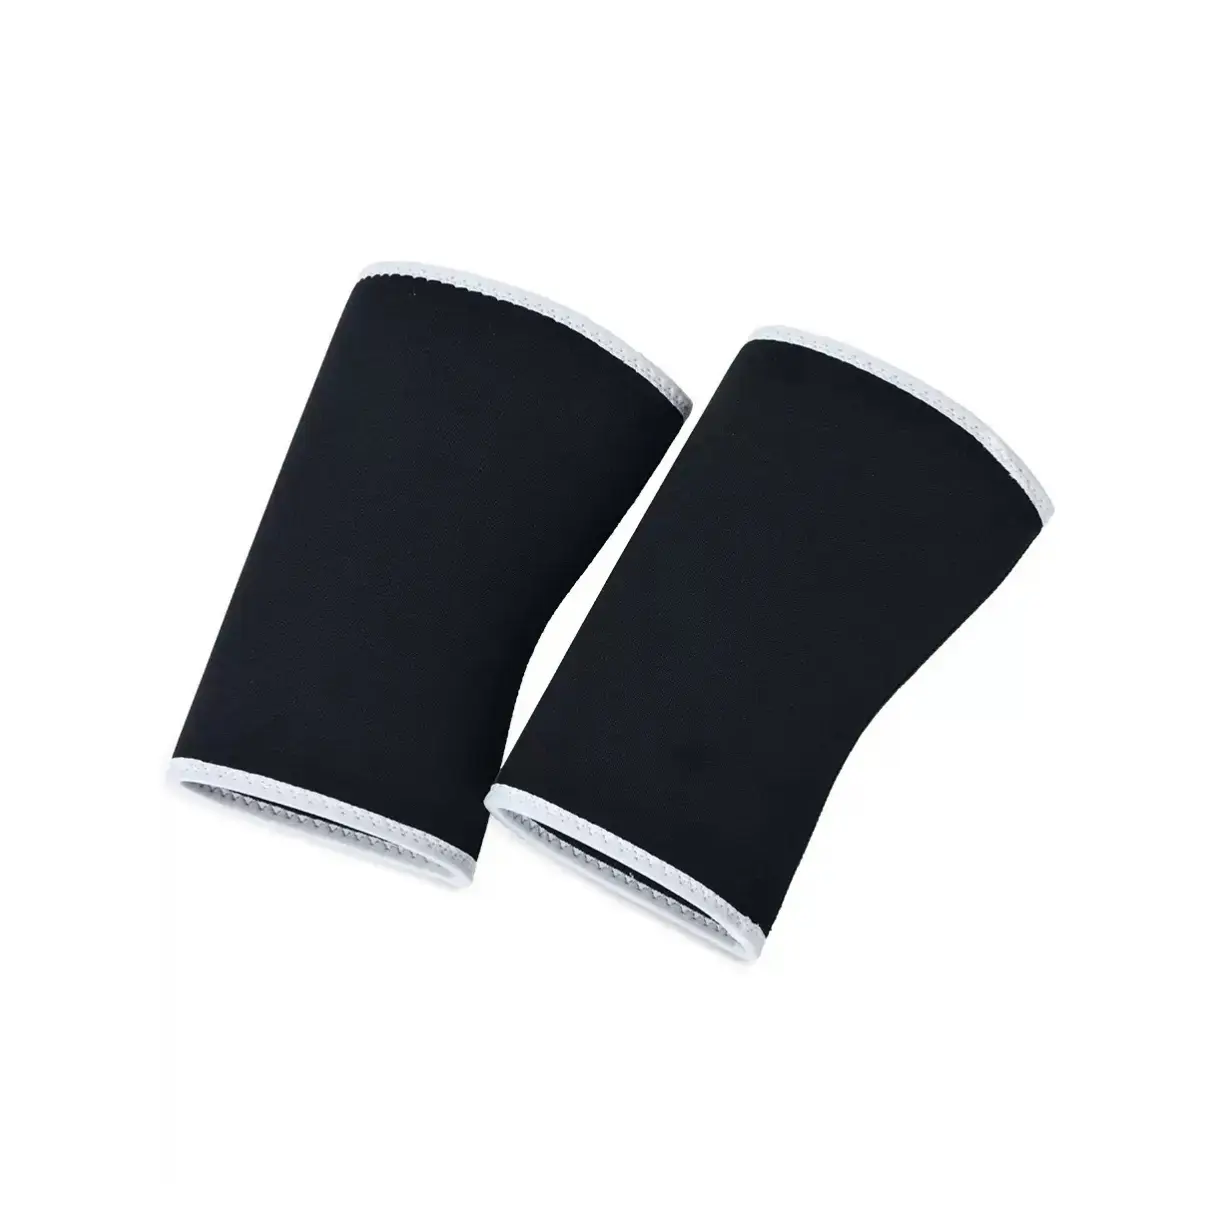
First of all, we need to make good preparations before winding. Choosing the right wrist guard is fundamental. Generally, it is recommended to select a cotton or spandex wrist guard with moderate elasticity and good breathability, and the width should be such that it can fully cover the wrist joint. Before use, make sure your wrist area is clean and dry, free of sweat or moisture. This can prevent the wrist guard from slipping off during activities and also maintain the stability of the wrap. If there is slight discomfort in the wrist, you can first do a simple massage to relax it, and then start wrapping.
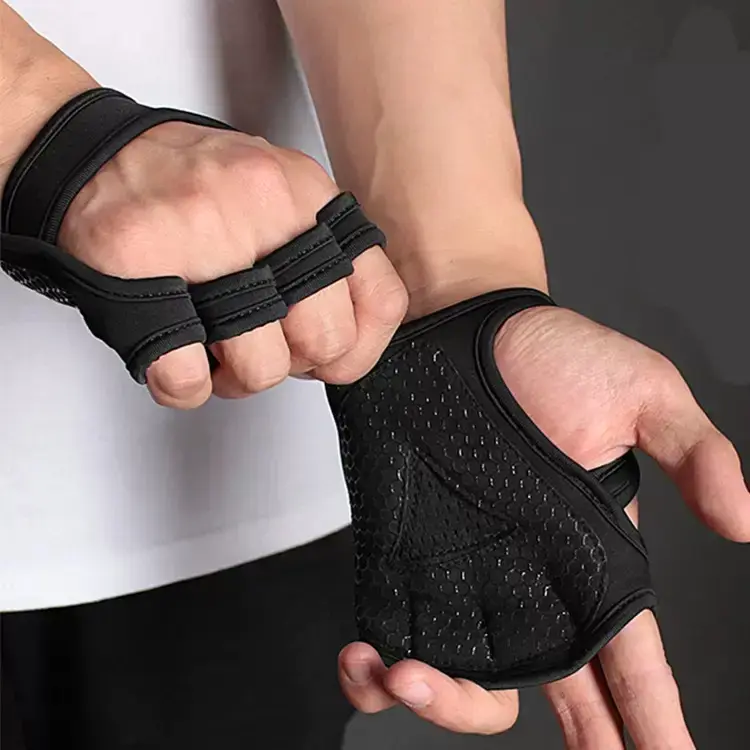
Next, we move on to the formal winding step. The first step is to determine the starting point of the winding. Generally, the inner side of the wrist, close to the palm, is chosen. This is the key area for wrist movement. Starting the winding from here can better fix the joint. Gently press one end of the wrist guard against the starting point and hold it down with the other hand to prevent it from sliding. Be careful not to pull it too tight at the beginning. Just keep it in a natural fit.
The second step adopts the spiral winding method. Starting from the starting point, slowly wind upwards in a clockwise direction (taking the right hand as an example). Each circle should cover about one-third of the width of the previous circle. This way, it can ensure the tightness of the winding without leaving any gaps. During the winding process, the force should be kept uniform. It should neither be too loose to cause poor protective effect nor too tight to affect the blood circulation of the wrist. If you feel numbness or discomfort in your wrist while wrapping, you should stop immediately and adjust the force.
The third step is to focus on strengthening the wrist joint area. When the winding reaches the thinnest part of the wrist, that is, the protruding part of the carpal bone, the force of the winding needs to be slightly increased. This is the core area of the wrist that bears the force. Strengthening the fixation can effectively disperse the pressure. You can wrap an extra circle around this position, but be sure to keep the wrist guard flat to avoid wrinkles, otherwise it may rub against the skin during activities and cause discomfort.
The fourth step is to extend and wrap towards the forearm. After passing through the wrist joint, continue to wrap upwards to about 3 to 5 centimeters below the forearm. This length can better stabilize the entire wrist area and prevent the wrist guard from shifting during large-scale movements. Also follow the principle that each lap covers one-third of the previous one to maintain the continuity and uniformity of the winding.
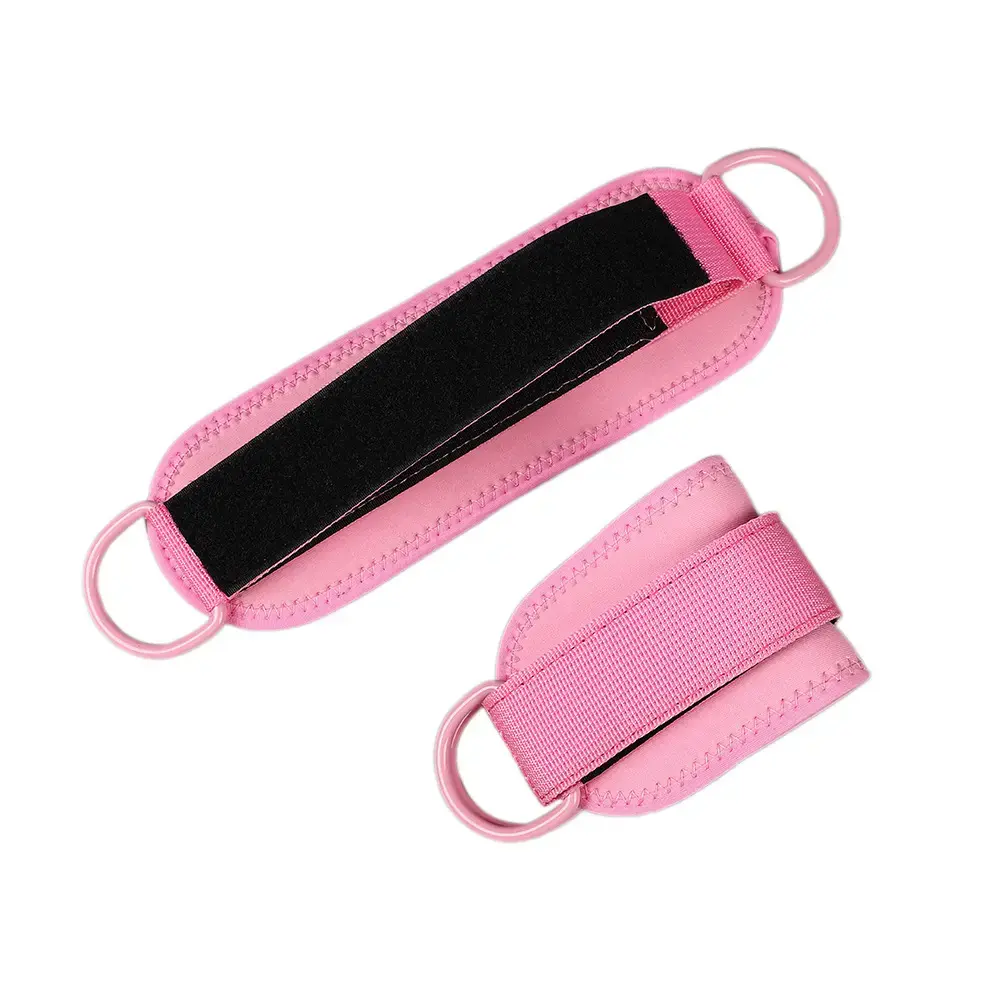
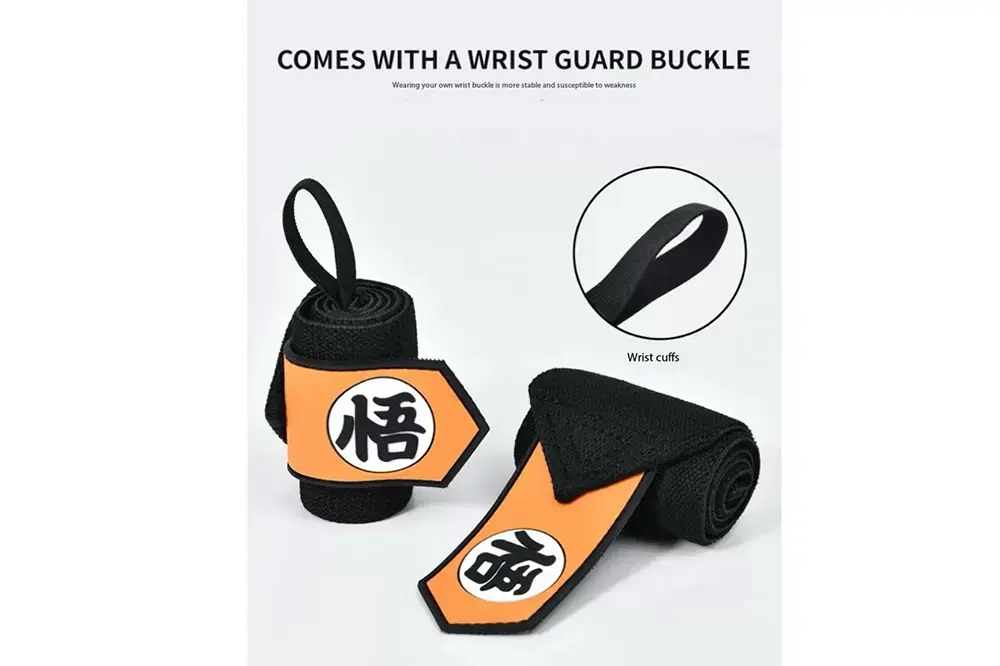
The last step is to fix the end of the wrist guard. After winding to the appropriate length, secure the end of the wrist guard with the built-in Velcro or strap to ensure it does not loosen. After the fixation is completed, gently move your wrist to feel if the tightness of the winding is appropriate. The ideal state is to feel a distinct support force without affecting the normal movement of fingers and wrists, and without leaving tight marks on the skin.
After the winding is completed, some usage details still need to be noted. Before each use of the wrist guard, check for any wear or loss of elasticity. If any damage is found, replace it in time. After exercising or participating in activities, it is necessary to remove the wrist guards in time to allow the skin on the wrist area to breathe fully. If you are using wrist guards for a long time, it is recommended to clean them once a day to maintain hygiene and elasticity.
Mastering the correct way to wrap wrist guards can enable them to truly play their protective role and provide reliable support and protection for our wrists. Whether it's ball games like basketball and badminton, strength training such as weightlifting and fitness, or even scenarios in daily work where wrists are frequently used, correctly wrapping wrist guards can effectively reduce the risk of injury. It is hoped that through the explanation of the above steps, everyone can learn the professional wrist guard wrapping method, so that their wrists can be better protected and they can enjoy the fun brought by the activity with peace of mind.